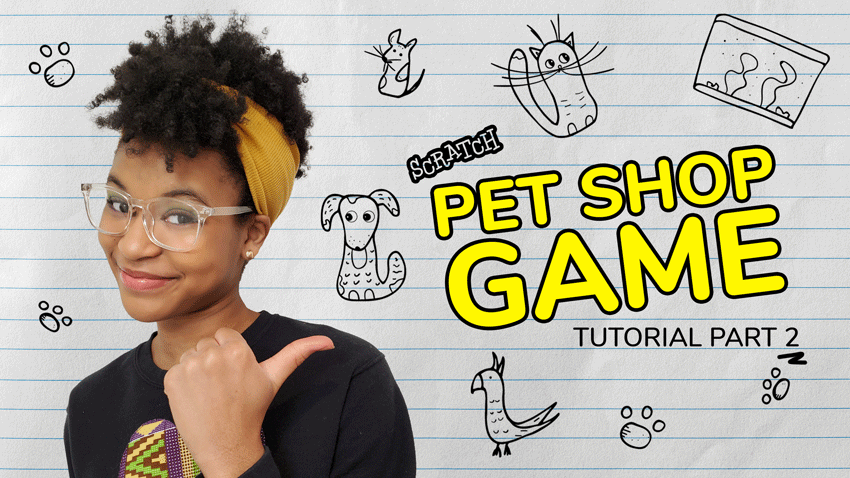
It has taken me a while to create the second part of this tutorial, but it is worth it! I love creating Scratch tutorials, so I take my time to get them right. That means I create the example project, test it, and figure out how to show you how to do it too.
Part One
Have you already done part one of the tutorial? If not, you can check it out here. Keep in mind that It took me about two weeks to get the code right for part one, so this is not a quick project! If you don’t get it right at first, that’s okay. Take a little break and come back to it later with a fresh mind! You may want to pause it and go through and copy the exact code. If you are having trouble understanding what each piece of code does in part one, check out the example project here: https://scratch.mit.edu/projects/509475053/ If you click “See Inside” you can see comments on each block that explains what it does! If you have any specific questions or want me to help you decode your project, let me know in my tutorials studio.
Part Two
So you have finished part one – YAY! Now it is time to dive into part two. Here is the example project – https://scratch.mit.edu/projects/509475053/. If you have any questions or get stuck, you can leave a comment in my tutorials studio on Scratch. Can’t wait to see your projects! Make sure you let me know when you remix the project so that I can check it out.
To make sure that you know when I post new videos, have a parent or guardian sign up for my newsletter (if you are under 18).
Love the new intro? Click here to see how I made it on my Patreon page! Did you see my new branding? I have new merch too! Check it out.


